Chocolate Peanut Butter Oat Bars
Highlighted under: Sweet Baking Ideas
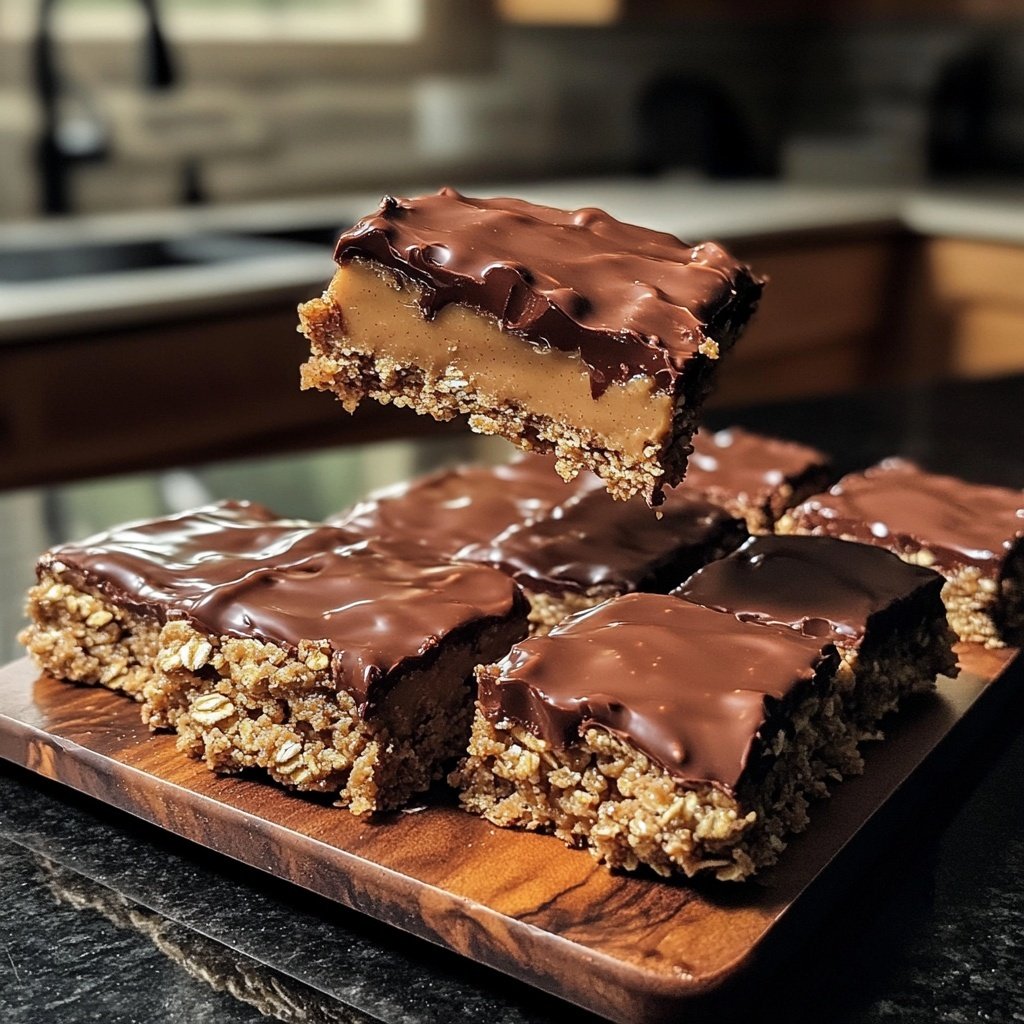
I absolutely love these Chocolate Peanut Butter Oat Bars! Not only are they deliciously rich and satisfying, but they also offer a perfect balance between sweetness and heartiness. When I first made these bars, I was looking for a quick, nutritious snack that would keep me fueled throughout the day. The combination of oats, chocolate, and peanut butter works wonders to curb cravings, and they’re super simple to whip up in just a few minutes. Trust me, these bars will quickly become your new favorite treat!
When I first experimented with these Chocolate Peanut Butter Oat Bars, I was amazed at how something so simple could come together in perfect harmony. The gooeyness of the peanut butter paired with the richness of chocolate made my taste buds dance! I discovered that using rolled oats, instead of instant oats, adds a delightful chewy texture.
Another tip I learned is to let the bars cool completely before cutting. This ensures that they hold their shape beautifully and makes them easier to handle when you're ready to indulge. Honestly, these bars are a game-changer!
Why You'll Love These Bars
- Delectable combination of chocolate and peanut butter
- Nutritious oats provide lasting energy
- Perfect for a quick snack or a delicious dessert
Mastering the Texture
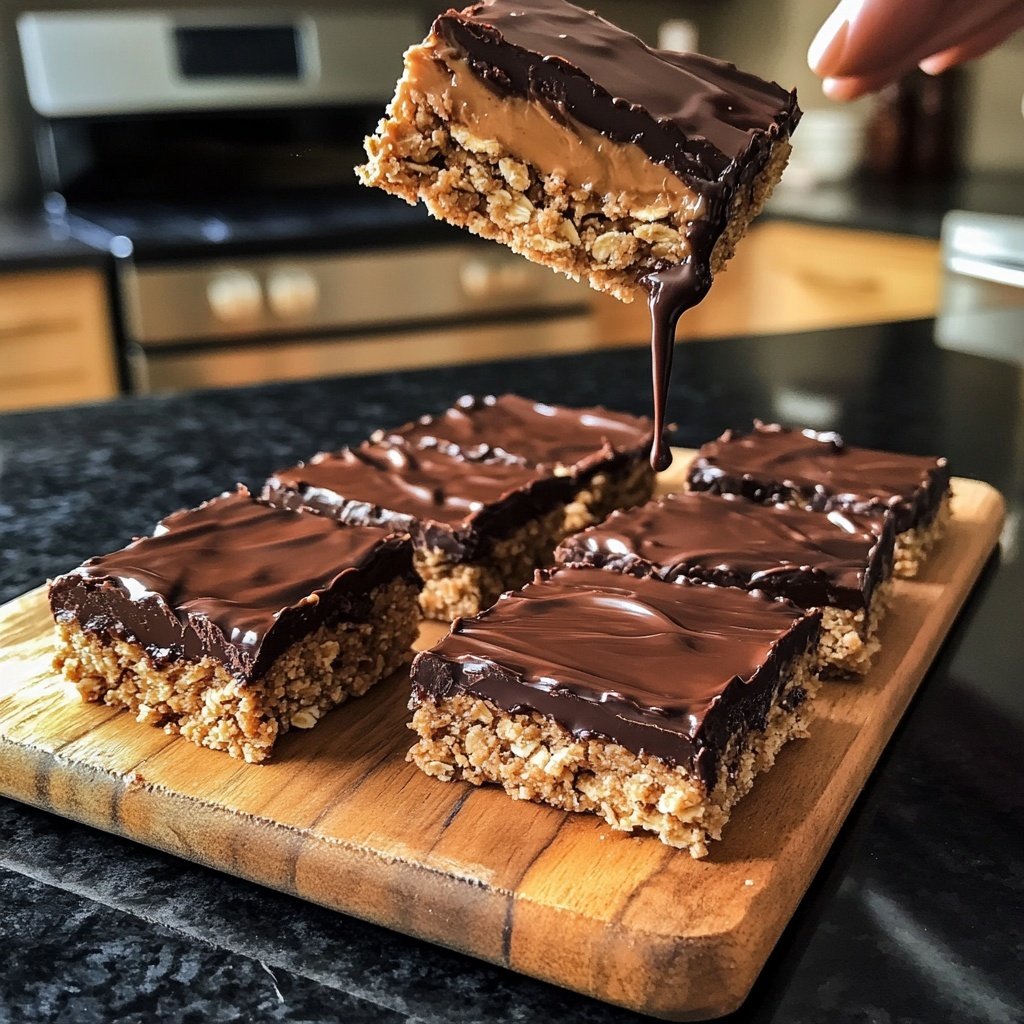
The key to achieving the perfect texture in your Chocolate Peanut Butter Oat Bars lies in the balance of ingredients. The rolled oats provide heartiness and chew, while the creamy peanut butter binds everything together, creating a pleasant, cohesive texture. Be sure to use creamy peanut butter as it gives a smoother finish, but if you prefer a bit of crunch, feel free to swap in crunchy peanut butter. The addition of honey or maple syrup not only sweetens the bars but also helps with moisture retention, preventing them from becoming overly dry.
When pressing the mixture into the baking dish, consider using a piece of parchment paper to make the job easier. I like to dampen my hands slightly; this prevents the mixture from sticking and allows me to press it down firmly, ensuring that the bars hold together well during slicing. The even distribution of chocolate chips also plays a role here; they should be folded in gently but thoroughly, allowing for delightful pockets of melted chocolate in each bite.
Storage and Shelf Life
Proper storage is essential to keep your bars fresh and delicious for longer. Once fully cooled, cut the bars into individual servings and store them in an airtight container. They can last at room temperature for about a week or can be refrigerated for up to two weeks. If you want to keep them for even longer, consider freezing them. Wrap each bar in plastic wrap and place them in a freezer-safe container; they'll retain their quality for up to three months. Just thaw them in the fridge overnight before enjoying!
If you plan to take these bars on the go, they make a great travel snack. Consider wrapping them individually in parchment paper or foil for easy and mess-free snacking during busy days. Also, if you like a bit of extra flavor, try adding a sprinkle of sea salt on top before baking, as it enhances the chocolate and peanut butter combination impressively.
Flavor Variations
While the combination of chocolate and peanut butter is a classic, you can get creative with these bars by incorporating various flavors and mix-ins. For a fruity twist, consider adding dried fruits like cranberries or cherries—just chop them up to ensure they integrate smoothly into the texture. Nuts and seeds can also amp up the nutritional profile and change the chewiness; try almonds, walnuts, or sunflower seeds for a different mouthfeel and taste.
For those who love an added layer of flavor, a teaspoon of cinnamon or even a hint of espresso powder can enhance the chocolate richness. You might also experiment with different types of chocolate, like white or milk chocolate chips, depending on your preference. These small modifications allow you to tailor the bars to your taste and keep them interesting!
Ingredients
For the Bars
- 2 cups rolled oats
- 1 cup creamy peanut butter
- 1/2 cup honey or maple syrup
- 1/2 cup dark chocolate chips
- 1/4 cup milk (or dairy-free alternative)
- 1 teaspoon vanilla extract
- 1/2 teaspoon salt
Mix all the ingredients well and pour into a baking dish!
Instructions
Prepare the Pan
Line an 8x8-inch baking dish with parchment paper, leaving some overhang for easy removal later.
Mix Ingredients
In a large bowl, combine rolled oats, peanut butter, honey, milk, vanilla extract, and salt. Stir until well mixed.
Add Chocolate Chips
Fold in the dark chocolate chips until they're evenly distributed throughout the mixture.
Transfer to the Pan
Pour the mixture into the prepared baking dish and press it down firmly into an even layer.
Bake
Place in a preheated oven at 350°F (175°C) and bake for 20 minutes or until the edges are golden brown.
Cool and Cut
Allow the bars to cool in the pan for a bit, then transfer them to a wire rack to cool completely. Once cooled, cut into bars.
Enjoy your delicious homemade oat bars!
Pro Tips
- Feel free to customize these bars by adding nuts, seeds, or dried fruits based on your preference!
Troubleshooting Common Issues
If your bars are falling apart upon cutting, it might indicate that they were not pressed firmly enough into the pan. Next time, make sure to compact the mixture well. You can also try adding a little more peanut butter or honey to increase the binding properties. On the other hand, if the bars seem too chewy, it may be because they were overbaked. Keep an eye on them and aim for golden edges as a visual cue for doneness.
Additionally, if you find the bars too sweet, consider reducing the amount of honey or maple syrup by a couple of tablespoons or substituting with unsweetened nut butter. Experimenting with ratios will help you find the perfect sweetness balance according to your taste.
Serving Suggestions
These Chocolate Peanut Butter Oat Bars are incredibly versatile when it comes to serving ideas. You can enjoy them as a post-workout snack, alongside your morning coffee, or even crumbled over yogurt for a delightful breakfast. For a more indulgent treat, warm them slightly in the microwave for 10-15 seconds to soften the chocolate slightly before serving. This melts the chocolate, making them even richer and satisfying.
Consider pairing these bars with fresh fruits, such as banana slices or apple wedges. The freshness of the fruit complements the dense bars beautifully and adds an additional layer of flavor. They can also be packed in lunchboxes or served at gatherings, easily appealing to both kids and adults alike.
Questions About Recipes
→ Can I use natural sweeteners instead of honey?
Yes, maple syrup or agave syrup can be great alternatives.
→ How should I store these bars?
Store them in an airtight container at room temperature for up to a week or in the fridge for longer freshness.
→ Can I freeze these bars?
Absolutely! Wrap them individually and store in the freezer for up to 3 months.
→ What can I substitute for peanut butter?
You can use almond butter, sun butter, or any nut/seed butter of your choice.
Chocolate Peanut Butter Oat Bars
What You'll Need
For the Bars
- 2 cups rolled oats
- 1 cup creamy peanut butter
- 1/2 cup honey or maple syrup
- 1/2 cup dark chocolate chips
- 1/4 cup milk (or dairy-free alternative)
- 1 teaspoon vanilla extract
- 1/2 teaspoon salt
How-To Steps
Line an 8x8-inch baking dish with parchment paper, leaving some overhang for easy removal later.
In a large bowl, combine rolled oats, peanut butter, honey, milk, vanilla extract, and salt. Stir until well mixed.
Fold in the dark chocolate chips until they're evenly distributed throughout the mixture.
Pour the mixture into the prepared baking dish and press it down firmly into an even layer.
Place in a preheated oven at 350°F (175°C) and bake for 20 minutes or until the edges are golden brown.
Allow the bars to cool in the pan for a bit, then transfer them to a wire rack to cool completely. Once cooled, cut into bars.
Extra Tips
- Feel free to customize these bars by adding nuts, seeds, or dried fruits based on your preference!
Nutritional Breakdown (Per Serving)
- Calories: 200 kcal
- Total Fat: 10g
- Saturated Fat: 2g
- Cholesterol: 0mg
- Sodium: 50mg
- Total Carbohydrates: 25g
- Dietary Fiber: 3g
- Sugars: 10g
- Protein: 5g